Shopify Integration
The Shopify Connector pulls the orders from Shopify and creates Sales Order against them in ERPNext.
While creating the sales order if Customer or Item is missing in ERPNext the system will create new Customer/Item by pulling respective details from Shopify.
How to Setup Connector?
Create A Private App in Shopify
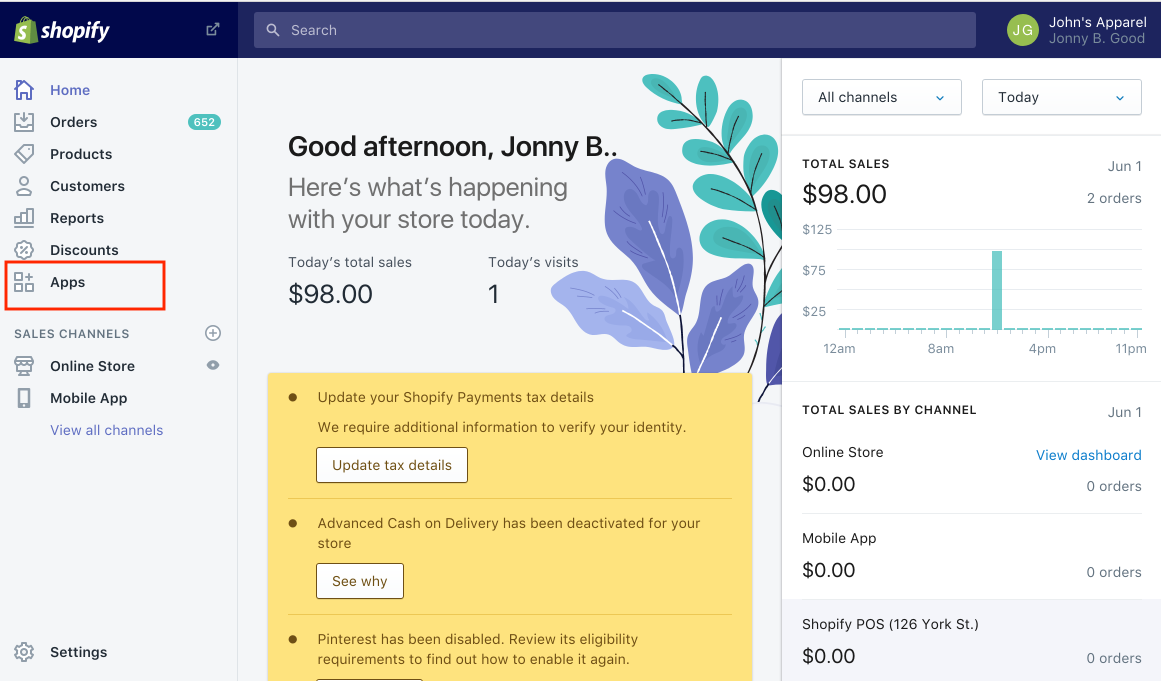
Click on Apps in menu bar
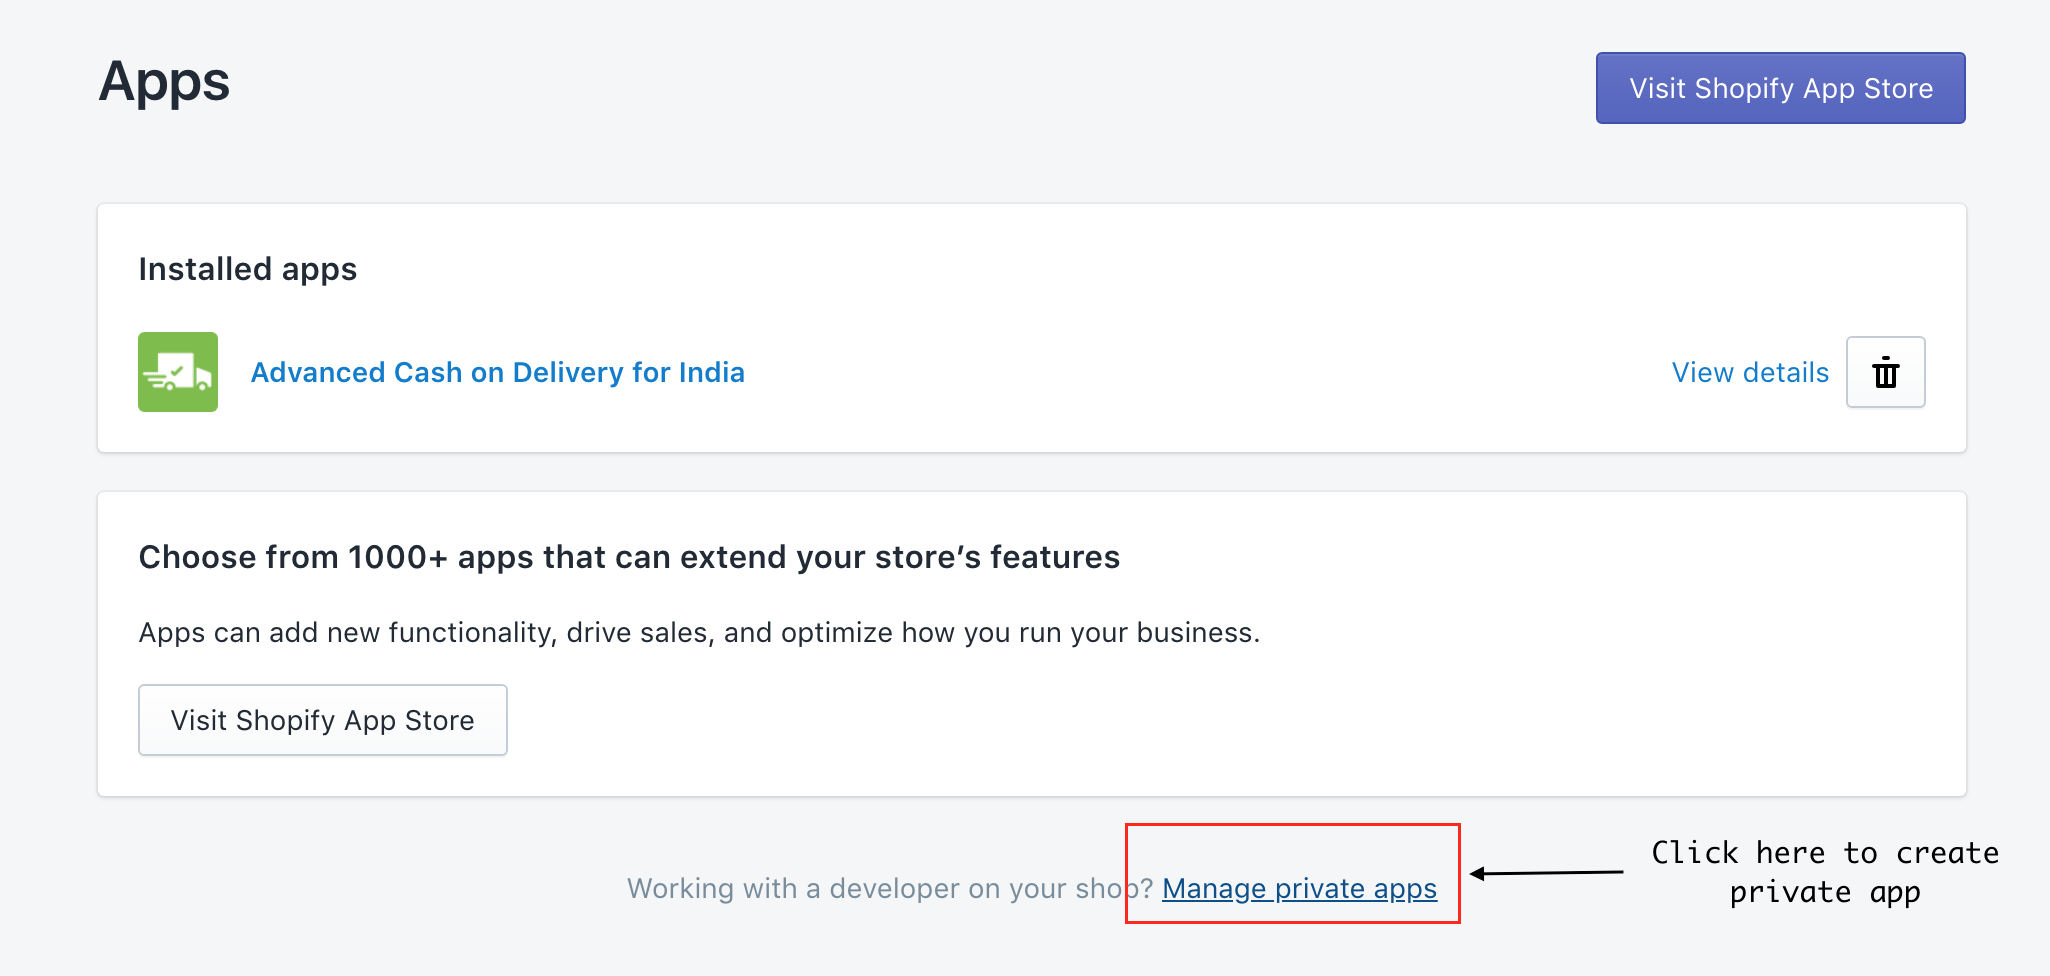
Click on Manage private apps to create private app
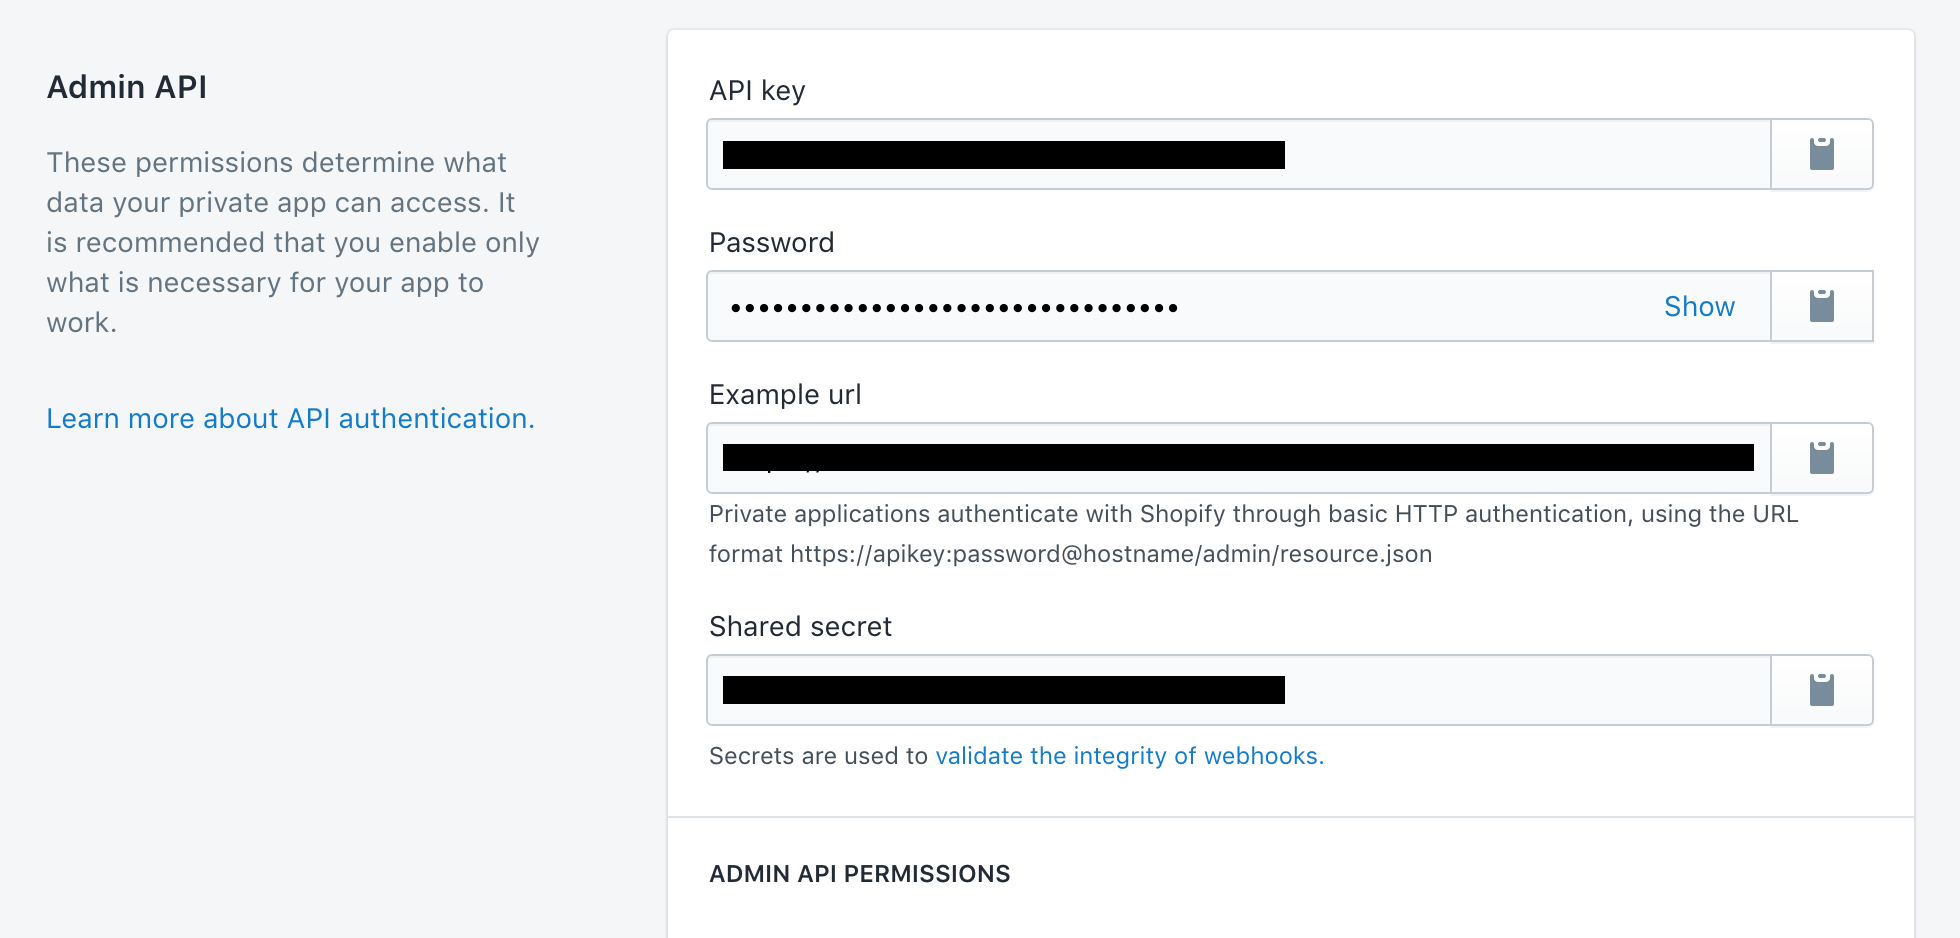
Fill up the details and create app. The each app has its own API key, Password and Shared secret
Setting Up Shopify on ERPNext:-
Once you have created a Private App on Shopify, setup App Credentials and other details in Shopify Settings in ERPNext.
To access Shopify Settings, go to: Integrations > Shopify Settings
Select App Type as Private and Fill-up API key, Password and Shared Secret from Shopify's Private App.
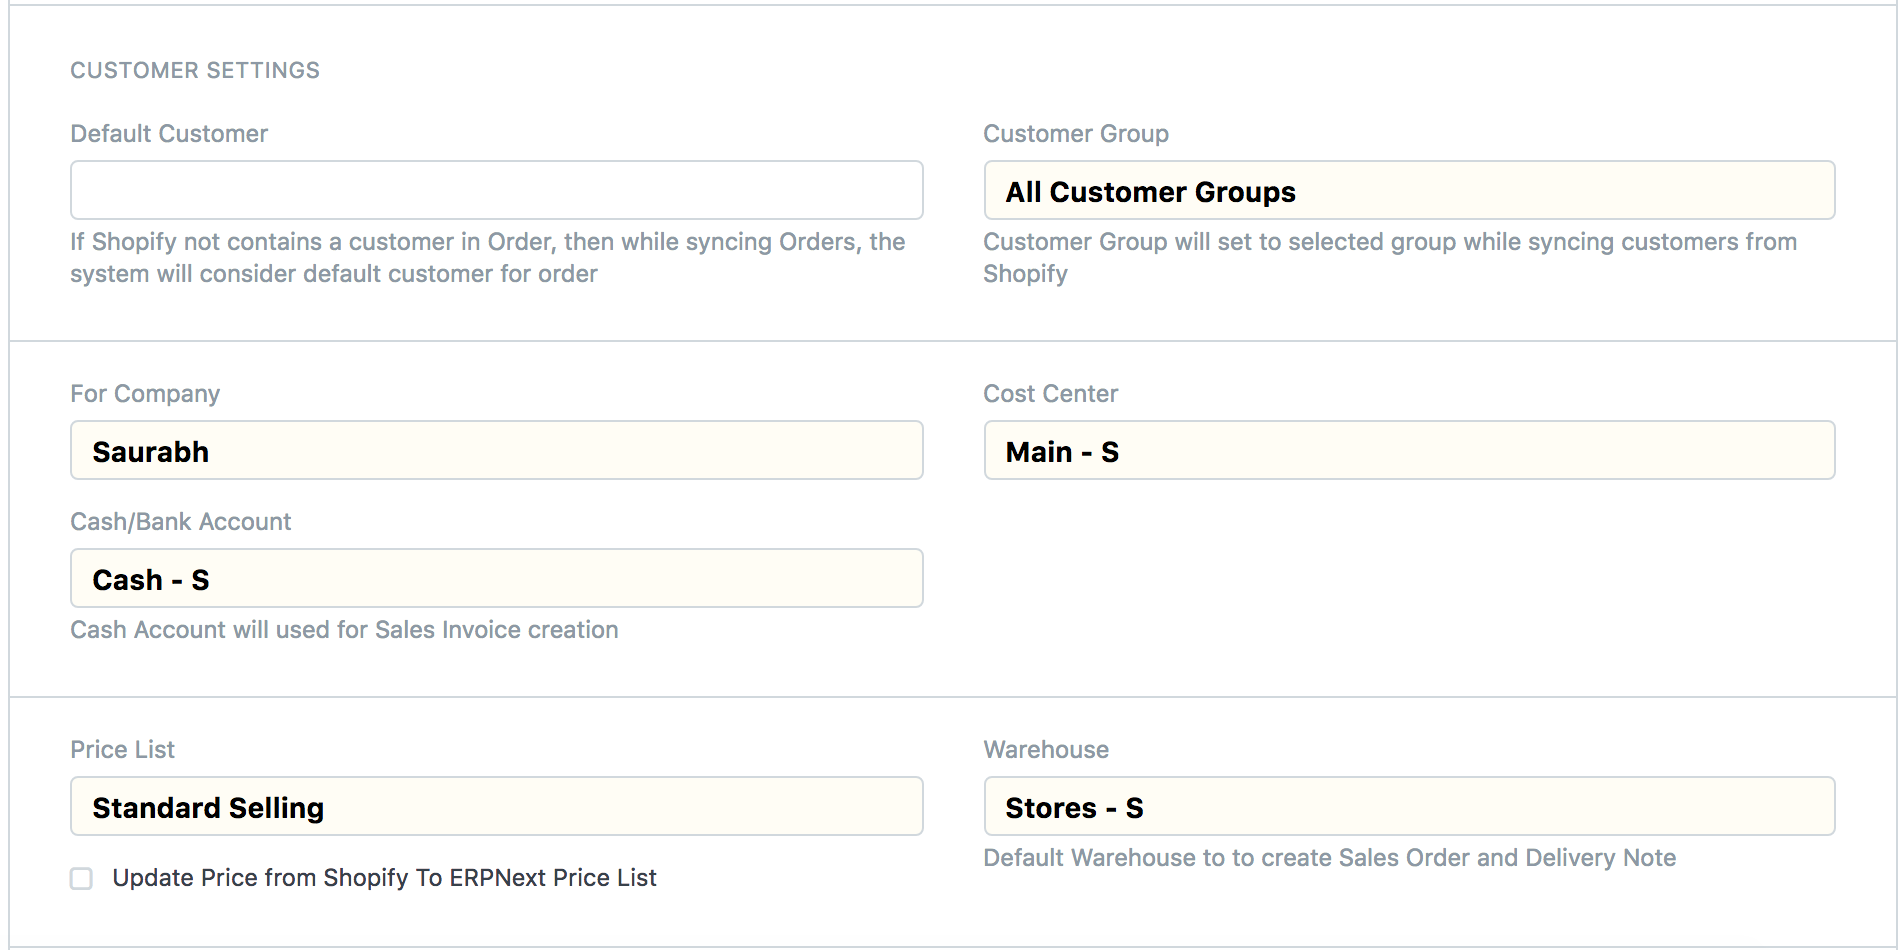
Setup Customer, Company and Inventory configurations
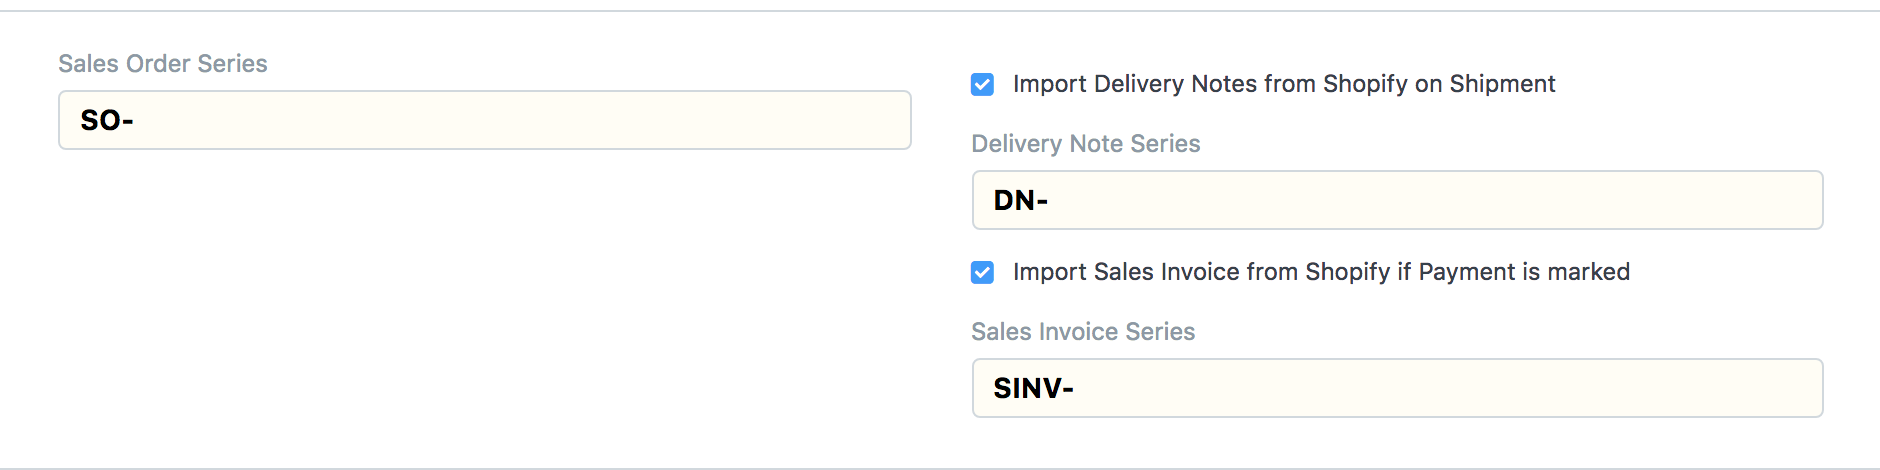
Setup Sync Configurations. The system pulls Orders from Shopify and creates Sales Order in ERPNext. You can configure ERPNext system to capture payment and fulfilments against orders.
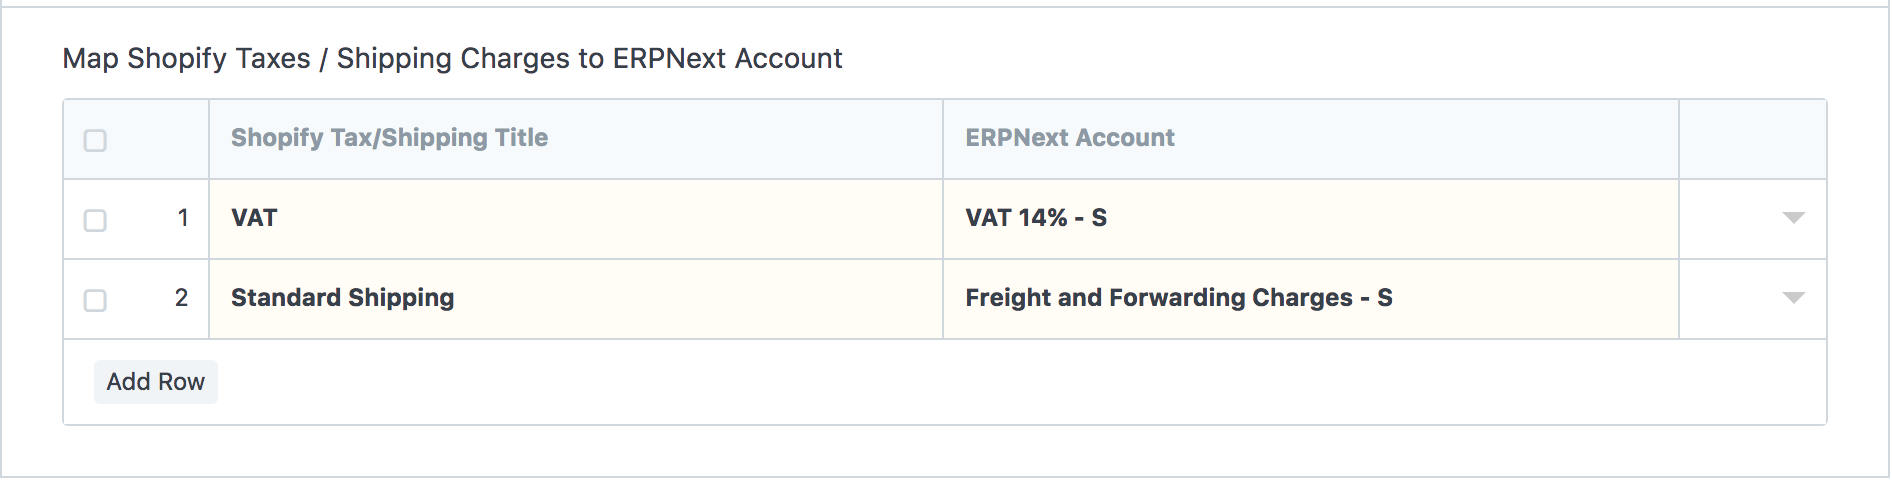
Setup Tax Mapper. Prepare tax and shipping charges mapper for each tax and shipping charge you apply in Shopify
After setting up all the configurations, enable the Shopify sync and save the settings. This will register the API's to Shopify and the system will start Order sync between Shopify and ERPNext.
Note:
The connector won't handle Order cancellation. If you cancelled any order in Shopify then manually you have to cancel respective Sales Order and other documents in ERPNext.
Version 11:
We have enhanced the Shopify Integration to make it unidirectional - The Shopify Connector will pull the orders from Shopify and creates Sales Order against them in ERPNext, not the other way round.